
Zoom Accessibility
Accessibility Features
Zoom is a web conferencing tool. The zoom platform offers a variety of accessibility features (detailed on Zoom Accessibility) including:
- Ability to add live closed captions
- Produce an automated transcript
- Keyboard Accessibility including specific Zoom Keyboard Shortcuts
- Screen Reader support
Live Captioning
Zoom has built-in automated live captioning. This is a two part process. First, as a meeting host, you must enable live captioning in your settings.
Part 1 (Automatically turned on for NC State users)
- Go to the NCSU Zoom dashboard
- Go to Settings
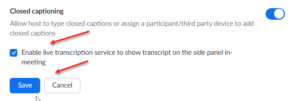
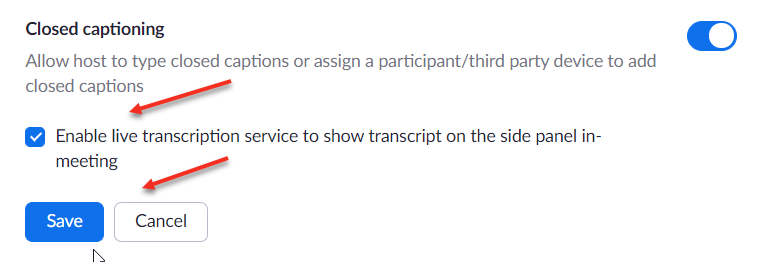
- Select In Meeting (Advanced), and scroll down to
- Check the Enable live transcription service to show transcript on the side panel in-meeting and then click Save
Part 2
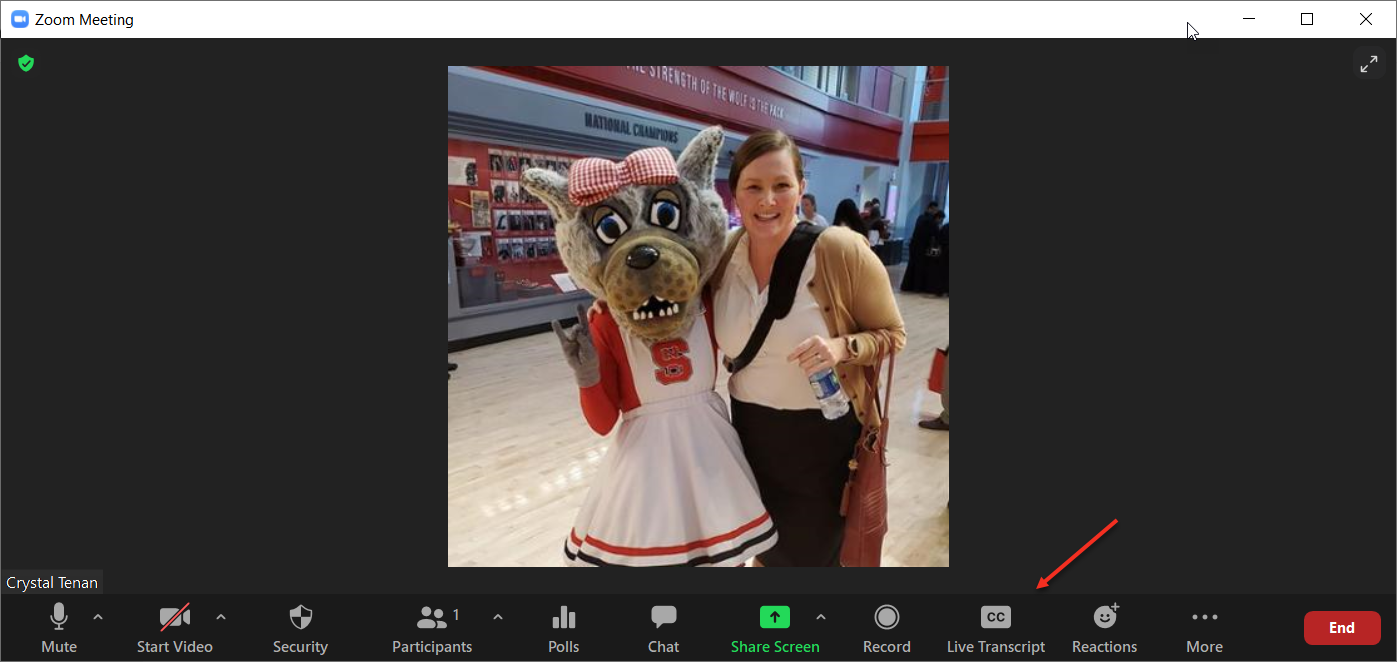
The second part requires activation of the live captions in a meeting. You will need to do this for every meeting you are the host of that you want to turn the live transcript feature on for.
- Select Live Transcript
-

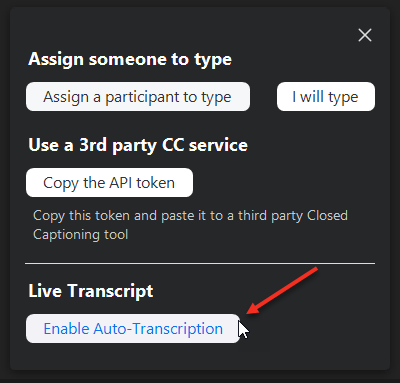
- Then select Enable Auto-Transcription

Participant Options
Participants have the following options for viewing live captions/ auto-transcription:
- Show Subtitles or Hide Subtitles
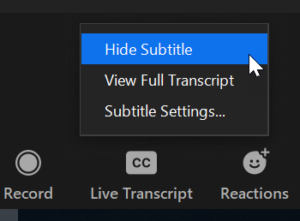
- View Full Transcript will show a full automated transcript in the side window
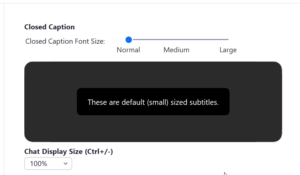
- Personalize Subtitle Settings


General Post Production Captioning Instructions
- Go to NCSU Zoom dashboard and download the MP4 video recording of the Zoom meeting
- Send the MP4 to a captioning provider (see the Captioning Convenience Contract)
- The captioning provider will produce a caption file (such as WebVTT or SRT). Some vendors can encode the captions into an M4V file as closed or open caption
Currently, Zoom does not support uploading caption files, so in order to make the recorded video available with updated captions, you would need to upload both the MP4 video and caption file elsewhere, such as YouTube.
Vendor Specific Post Production Captioning Instructions
Live Captions & CART Services
Turn-On Automatic Audio Transcript
- Log in to Zoom
- Select Settings
- Select the Recording tab
- Under the Cloud Recording heading, check the box Audio Transcript
- Record your Zoom meeting to the Cloud
- Once the transcript has been created, you will receive an email notification from Zoom
How to Remediate Automatic Audio Transcript
- Open the Zoom recording
- The Audio Transcript will be on the right-hand side
- A pencil icon will appear when you hover over the text you would like to edit
- Click on the pencil icon and edit your text
- Then click Save
- The edited text will display in the transcript and captions
- NOTE: The automated transcript is powered by Otter.ai
Accessibility Barriers
As of date: 5/4/20
For the most part, Zoom is a very accessible product, but the following items are not accessible and should be avoided or supplemented if you have a student that may not be able to use these features in your class due to a disability:
- If you will be annotating items, please describe verbally what is being annotated
- Limit whiteboard board use by students if you have keyboard only users or screen reader users
- When sharing your screen, describe what is on it including slide numbers if a presentation
- Also, share a link if presenting a web page or an accessible version of the file you are sharing
- Currently, a mouse is needed to edit the automatic transcript