
Google Slides
There are many components that go into making an accessible Google Slides presentation. Below are some of these components.
Choose an Accessible Template
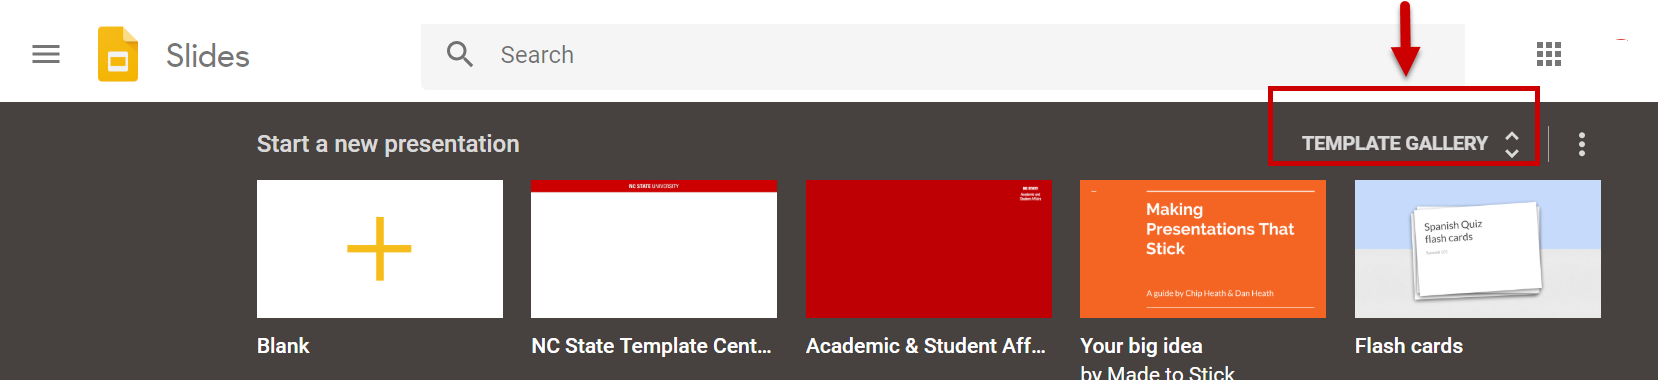
Some of Google Slides built-in themes have low color contrast between text and background, and others have busy backgrounds. This may make the text difficult to read and navigate. For NC State University users, we recommend choosing an NC State Template from the template gallery. These template have been created with accessibility in mind.
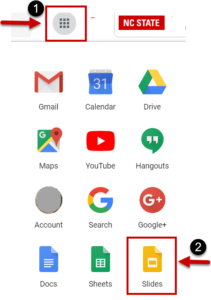
- Click on the Google Apps Option icon (grid symbol) to open the applications menu.
- Select Slides.
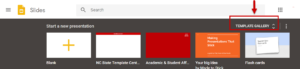
- Click on TEMPLATE GALLERY.
- Select a template. For example, let’s select NC State Template Center 4×1.
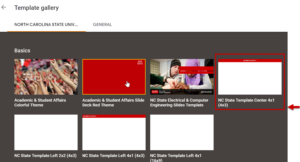
- Once the template is open, you can start creating your presentation.


Use a Predefined Slide Layout
Using a predefined slide layout will help ensure that the slide has the correct heading structure, numbered and bulleted list styles, and reading order.
Step 1: Create a new slide
- From the menu, select Slide.
- Select New slide (Ctrl + M).

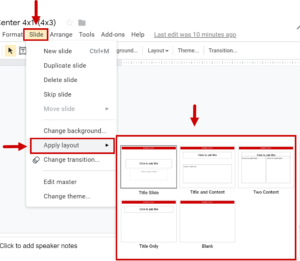
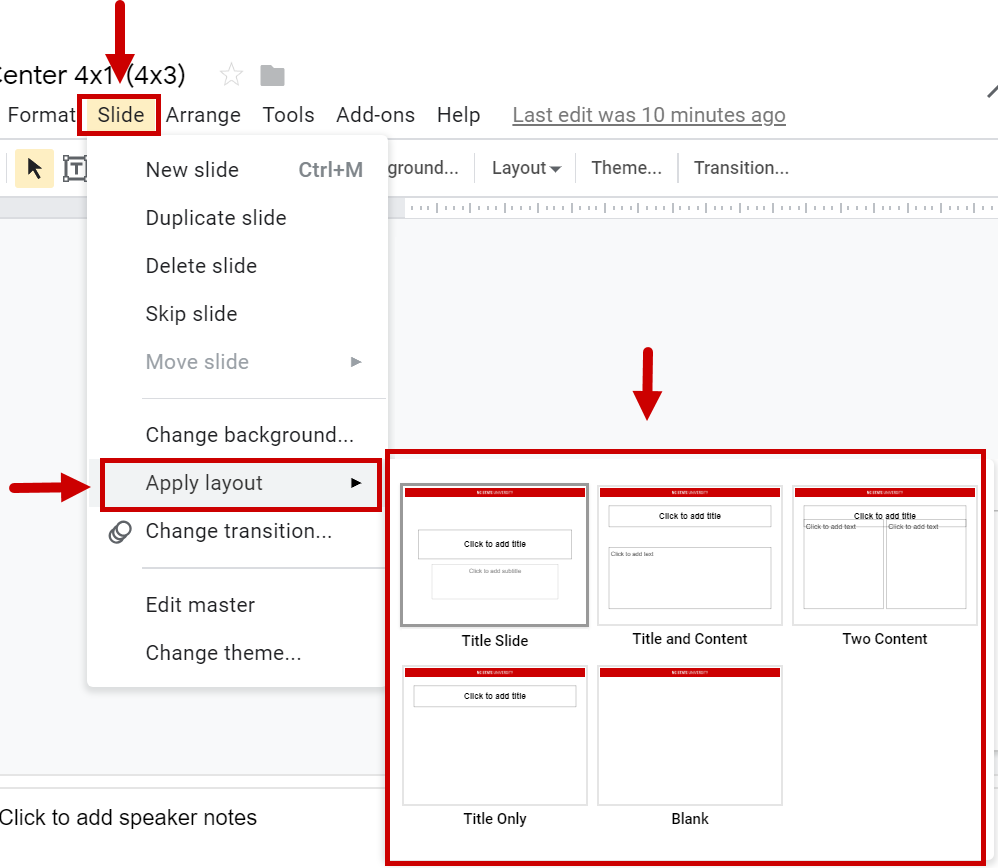
Step 2: Change the layout of a slide
- From the menu, select Slide.
- Select Apply Layout.
- Choose a layout from the available options.
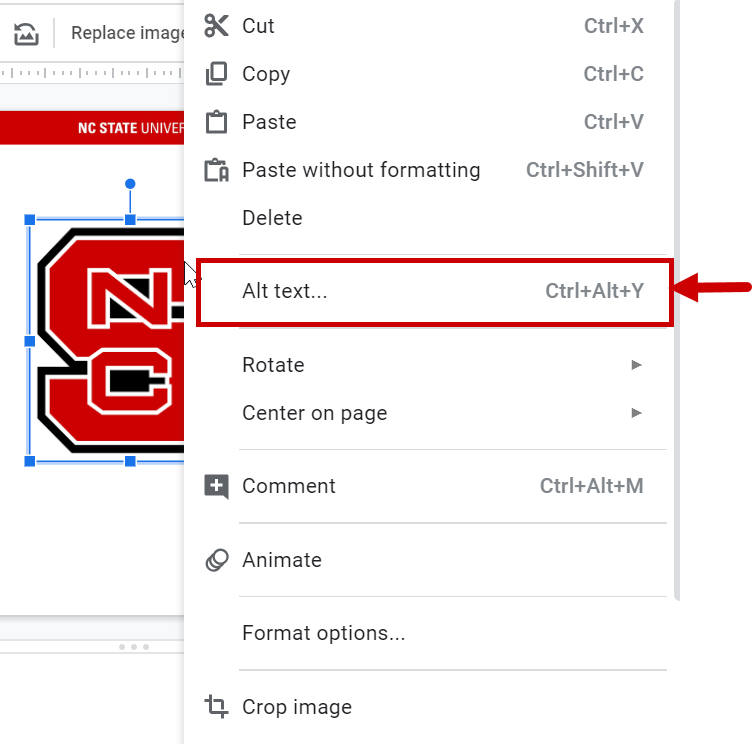
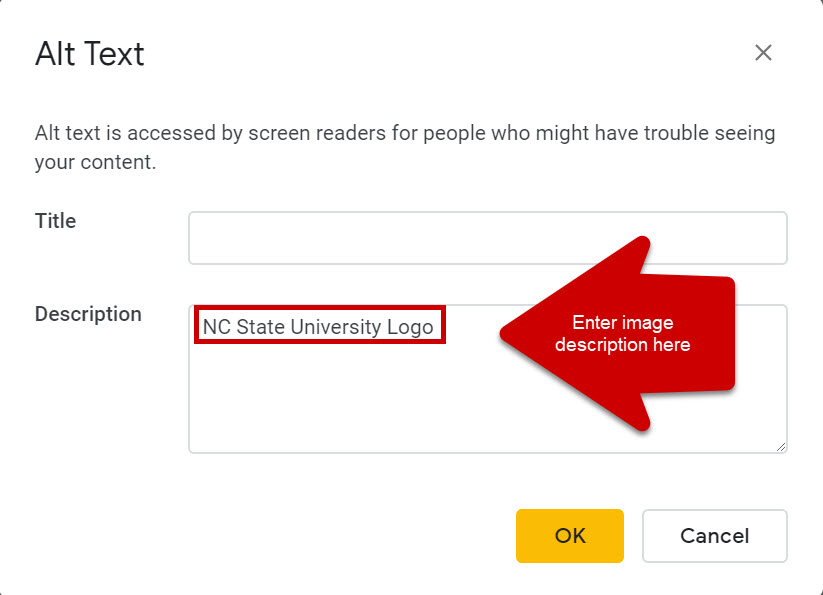
Add Alternative Text to Images
- Right-click on each image.
- Choose Alt Text (Ctrl + Alt + Y).

- In the Description field, type or paste appropriate alternative text.
Check for Accessibility
Use the Grackle Slides Chrome Add-on to check for common accessibility issues in Google Slides.
Enable Live Automated Captions During Presentations
You can turn on automatic live captions to display the presenter’s words in real time at the bottom of the screen.
NOTE: This feature is currently available only in U.S. English and only when using Chrome on a computer.
- Set up your microphone
- Google Slides uses the computer’s microphone or an external microphone paired with the computer.
- Make sure your microphone is on and working.
Devices and microphones vary, so check your computer manual for instructions. Microphone settings are typically in the System Preferences on a Mac or the Control Panel on a PC.
- Present with captions
- Make sure that you have a working internet connection.
- On your computer, open your presentation in Google Slides.
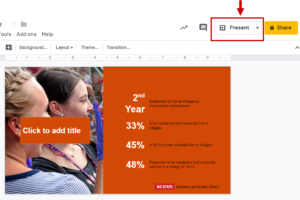
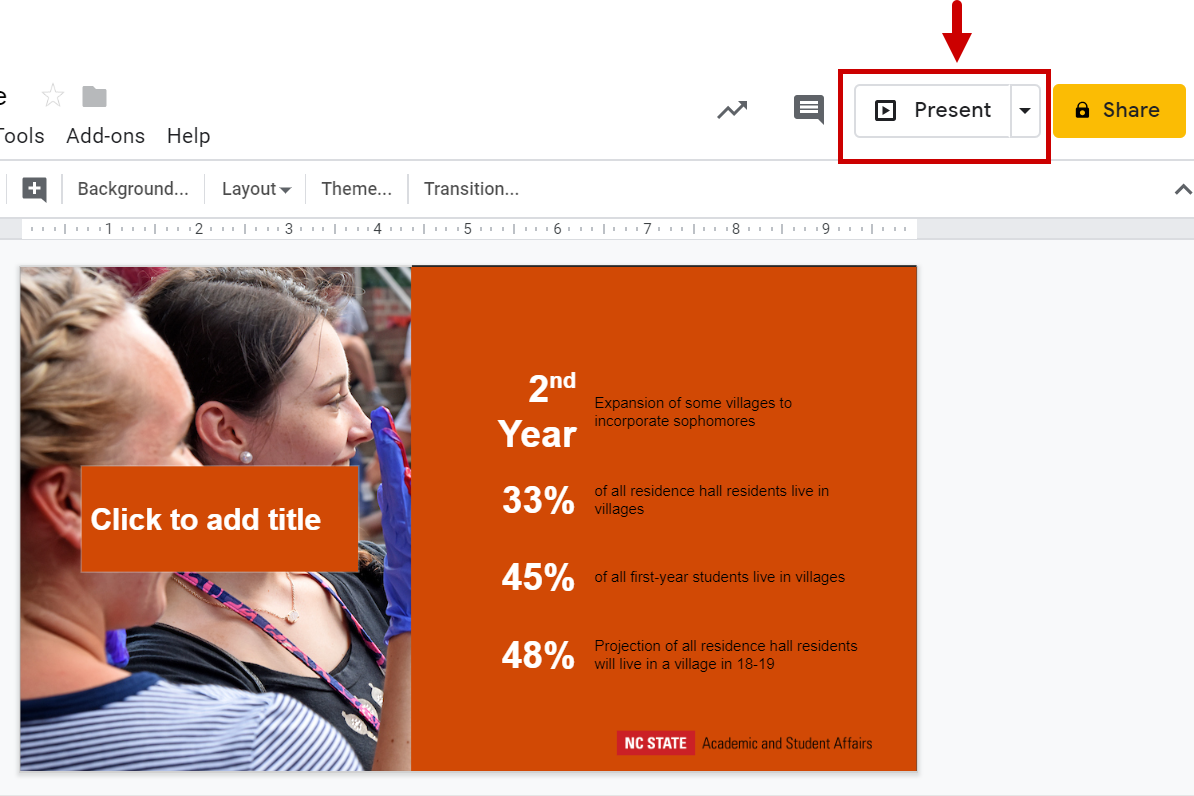
- To start presenting, click Present.
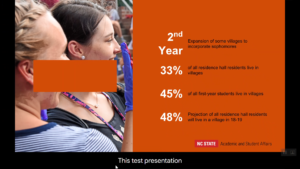
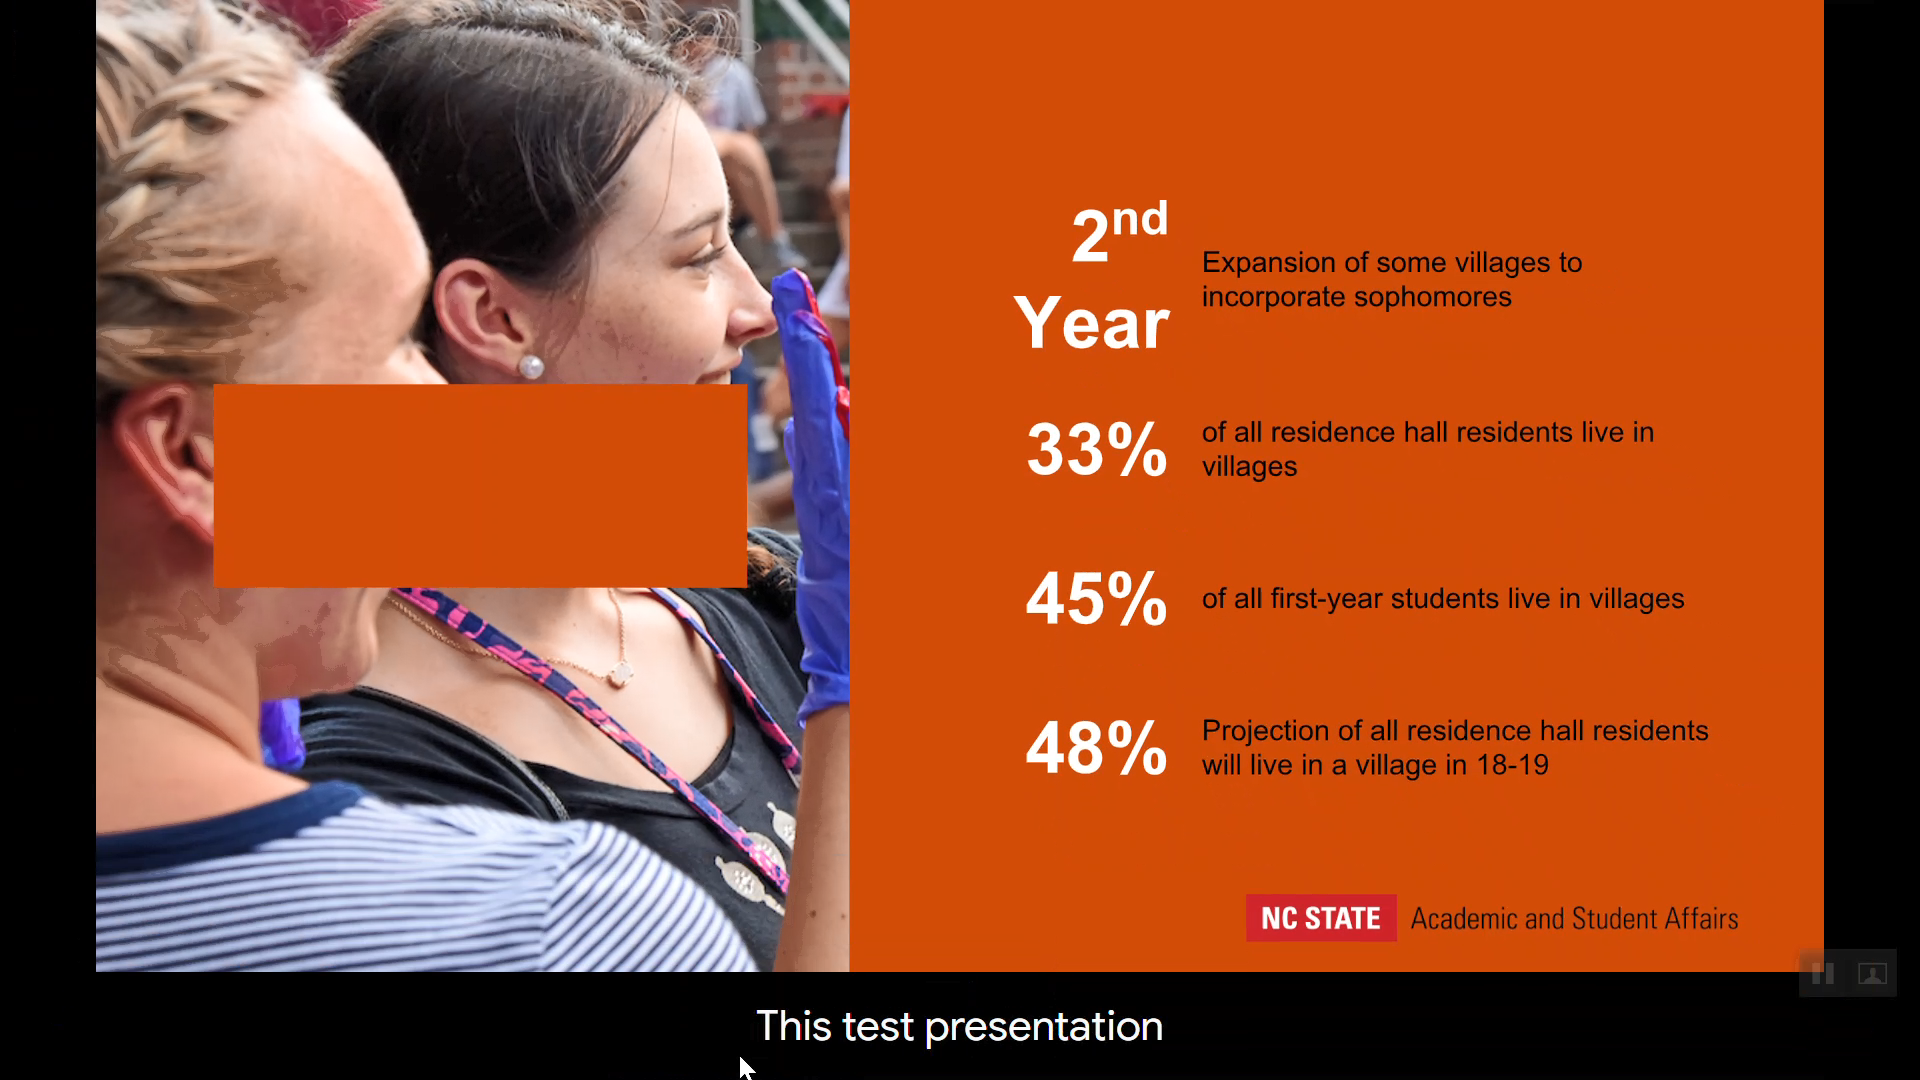
- To turn on captions, click CC in the presentation’s navigation menu.

- As you speak, captions (without punctuation) will appear at the bottom of the screen.
- To turn off captions, click CC once again.
NOTE: Captions are not stored.

Tips for using captions
- If you present slides over video conferencing software (such as Hangouts Meet), captions show up on the shared screen.
- To set expectations for your audience, it’s a good idea to tell them that:
- captions are from Google Slides, not the video conferencing software
- only the presenter’s voice is captioned.
- Some people find captions distracting, so you might want to ask your audience before turning on captions.
- If your computer is inactive for 30 minutes, both captions and microphone turn off automatically.
Resources